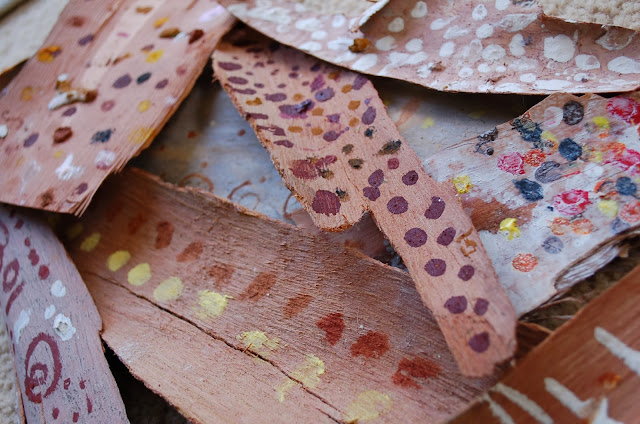
My children are often found crushing up rocks and making them into paints so I thought this would be a fun idea to incorporate into an art lesson. Making your own paints is very messy yet lots of fun. I've also been wanting to do an Aboriginal themed lesson and have been storing bark pieces for nearly a year in anticipation. Naturally these ideas go extremely well together as many of the early Aboriginal paintings were done with natural materials such as clay, berries, charcoal, chalk, and coloured rock.
I'm lucky to live near some lovely red / yellow / orange cliffs called "Red Bluff". I went for a walk along the beach one morning and gathered up some pieces of rock lying around on the sand (along with some pebbles for painting on). I also gathered some natural materials to paint with - banksia flowers, leaves, sticks, grasses, pine cones and seeds.
Part One - Making our own paints
We discussed as a class what materials natural paints could be made from then progressed into making our own from the materials on the table. I supplied the following:
Charcoal - Black
Red rock, paprika, red clay, iron oxide - Red
Turmeric, yellow rock - Yellow
White clay, chalk - White
Blue Berries, Black Berries, Beetroot juice - Purple / Pink
The children used a mortar and pestle to crush the rocks into a fine powder.
I supplied lots of plastic bowls, spoons and jars of water to mix the paints in.
For a "binder" to make the paints stick to the paper we used glue, cornflour and water paste or egg mixed in with the paints. Traditionally tree sap was often used.
This was all rather messy with lots of washing up to be done afterwards yet was lots of fun
 |
| Supplies for making our own paint |
The children were then handed white or black paper (their choice) to draw an Aboriginal design on. We discussed how symbols were often used (I handed out a page with some example symbols on it) and how Aboriginal paintings often tell a story. We also discussed Native animals children could draw and I had some templates on hand if they wanted to draw around these. Dot painting was also discussed. I pretty much left it to them to do the paintings how they liked. Although I encouraged them to take their time and give a dot painting a try many just added a few dots or did a more abstract painting. I had visions of beautiful slowly done dot paintings yet with children aged 5-9 years this was probably a bit over ambitious.
We had no paint brushes on the table so they could paint with the natural materials (although I also supplied some cotton tips). The natural paints are not the easiest to paint with so I had some normal paint in natural colours on hand if anyone got a little frustrated.
We also painted on the bark and pebbles. Some children painted the animal templates.
 |
| Painting on bark |
 |
| Painting on rocks / pebbles |
 |
| Painting animal templates |
Part Three - Hand Prints
As a final step we discussed how hand prints are often found painted on rocks and in caves. This is done by blowing white paint / chalk through a long wooden tube. We did our own version of this by spraying watered down white paint over hands placed on some brown packing paper.
Our artist of the week was Aboriginal Artist Michael Jagamarra Nelson. Click here for his biography.
Cheers
Fiona


