Thursday, 15 May 2014
Beautiful Oops..
I based last weeks lesson on the book "Beautiful Oops" by Barney Saltzberg. I just LOVE this book! Its important to remind children that its OK to make a mistake. Its OK to have an OOPS, make the most of it and turn it into something BEAUTIFUL!
So often children get frustrated that their artwork isn't working as they wanted - yet if they persist it often ends up being a masterpiece. I'm always reminding them of this in my classes, yet basing an entire lesson on this theme really drove the point home. They actually enjoyed it much more than I expected. Some really impressed me with their imaginations. I really enjoyed seeing them celebrate an OOPS!
To listen to the book on You Tube click here: https://www.youtube.com/watch?feature=player_embedded&v=2fZjMYdQjGM
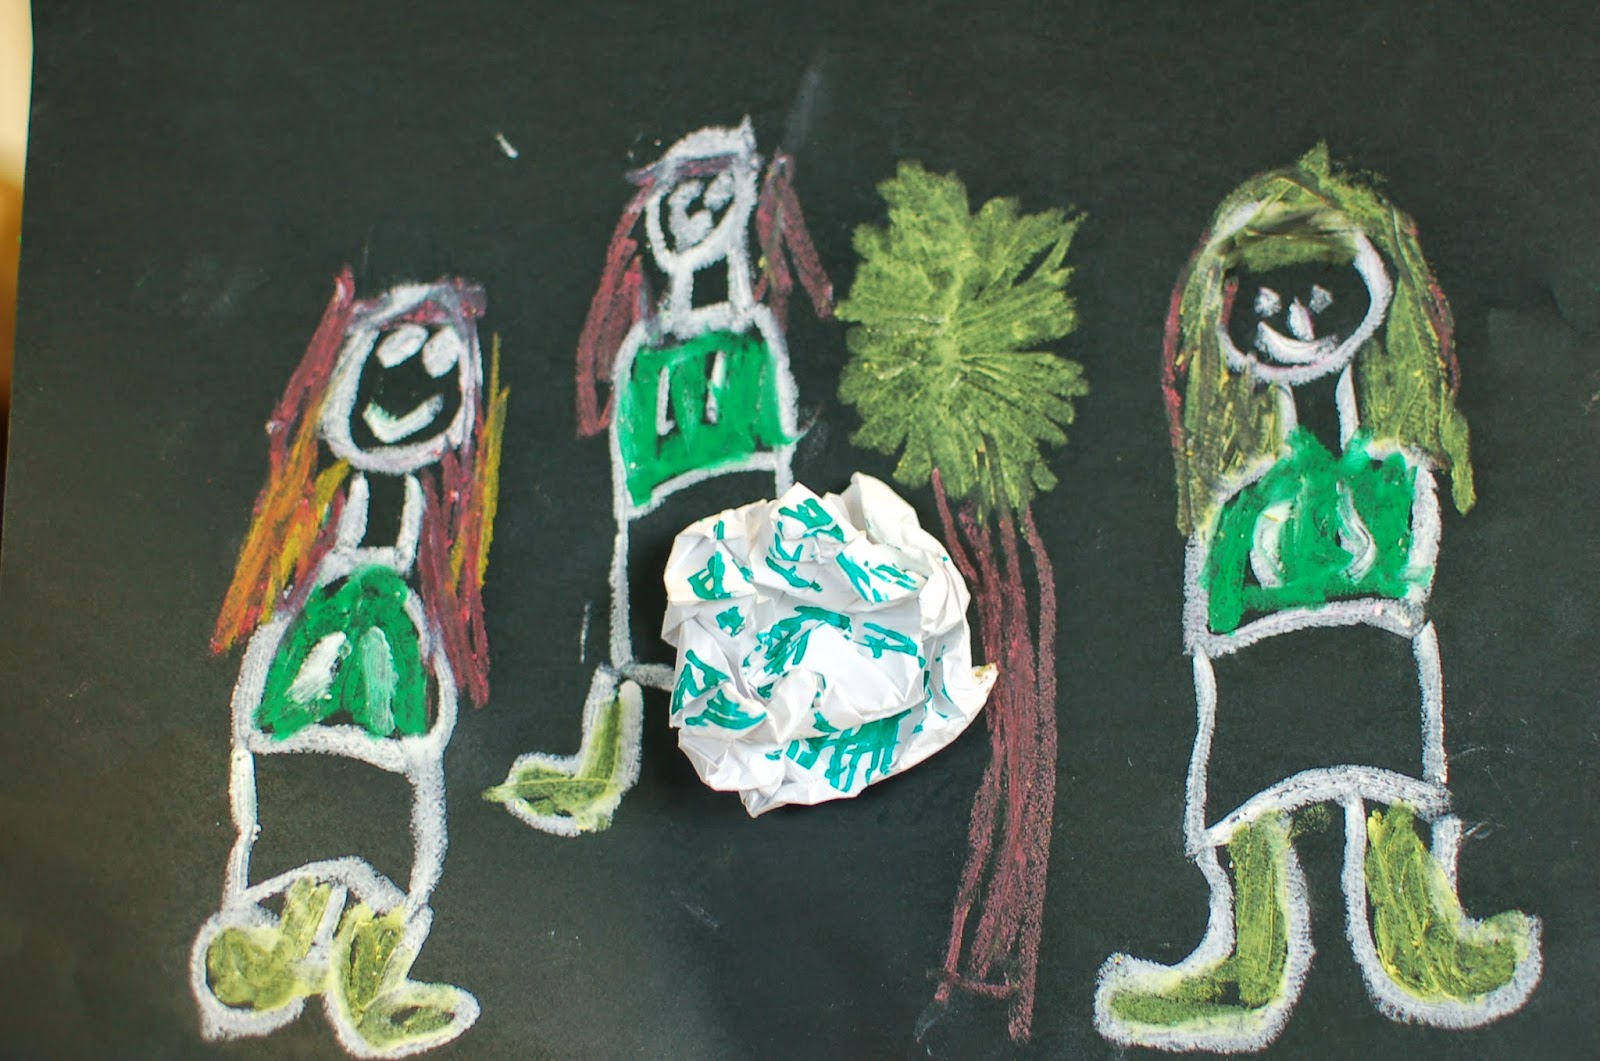
All you need for this lesson is the book and scraps of paper with holes, bent corners and rips. I also stuck some screwed up paper onto some black paper and did some paint dribbles and coffee stains. I supplied paints, oil pastels, pencils, textas and glue sticks as materials.
I sent the artwork home with them on the day yet here are some that I captured on the way out:
Coffee Stains:
Paint dribbles:
Tears in paper:
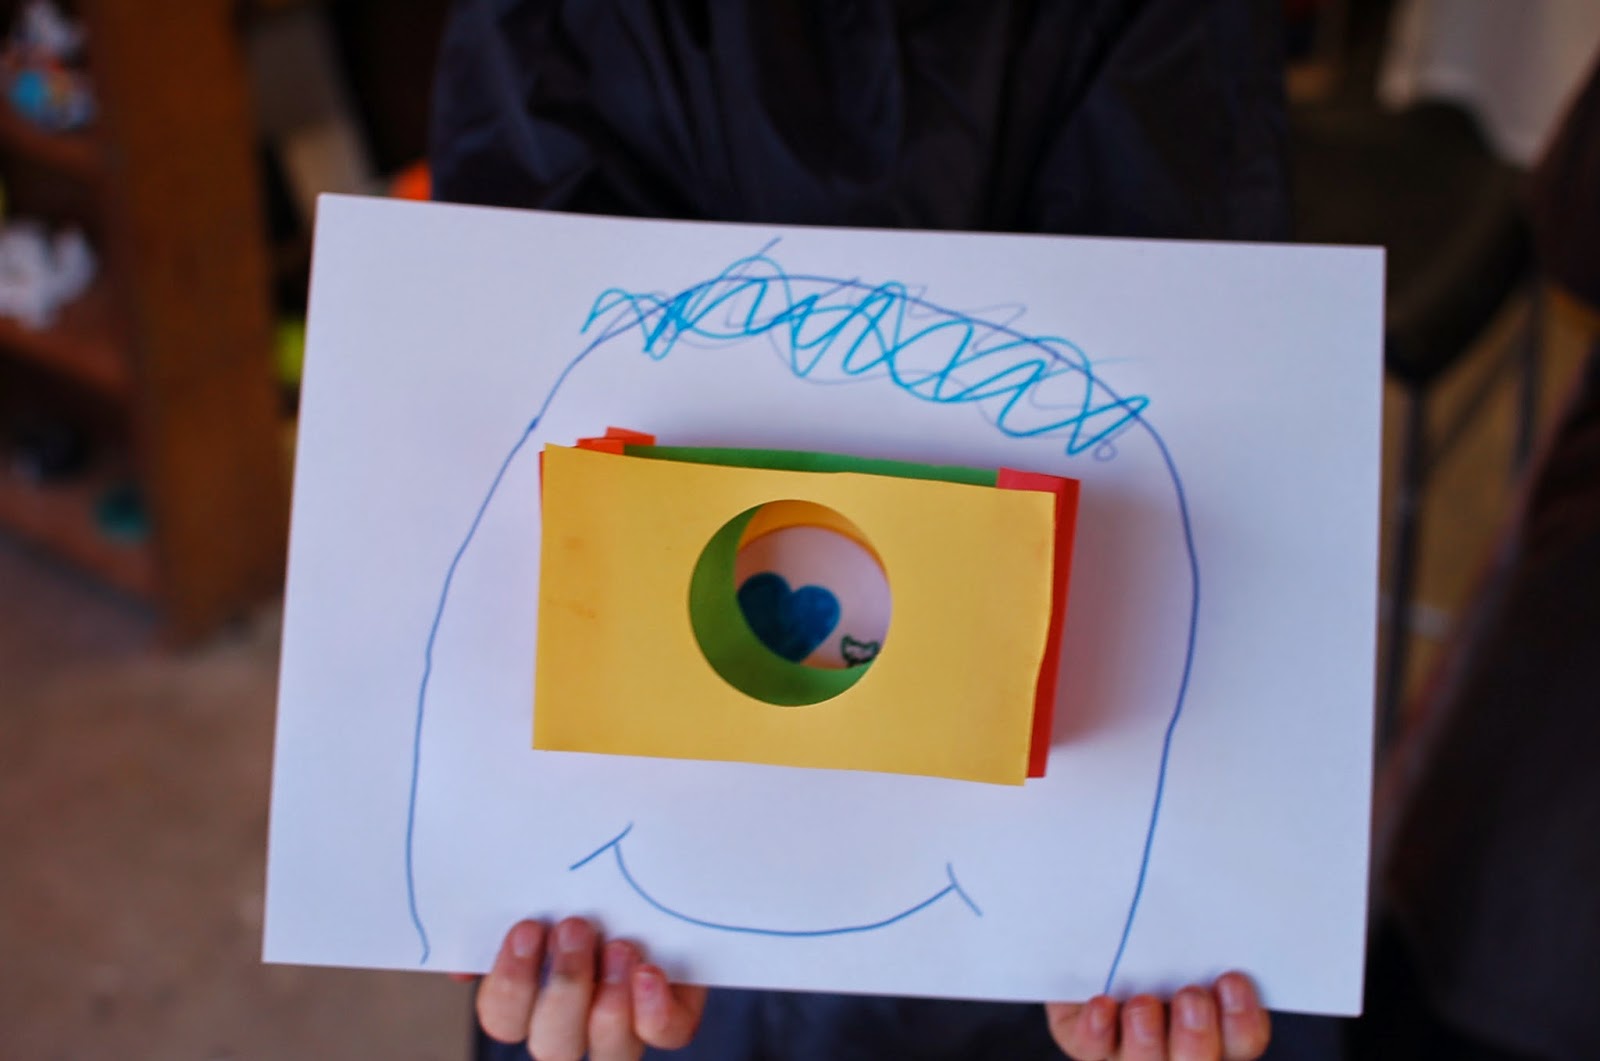
Folded paper:
Screwed up paper:
Holes in paper:
Scrap of Newspaper:
May you all make your Oops into something Beautiful!
Cheers
Fiona
Sunday, 11 May 2014
Mother's Day Gifts from Children (ART portraits, teatowels and candles)..
I love it when Mother's Day comes around and we make special gifts for the Mum's in class. As a mum myself, I just love homemade gifts from the kids. That extra special effort goes into a piece of artwork done just for Mum. Then there is the secret business part of the whole lesson - kids love to keep secrets (if they can).....
I never seem to be able to leave it at just one item, so this year we made our special Mum's three things:
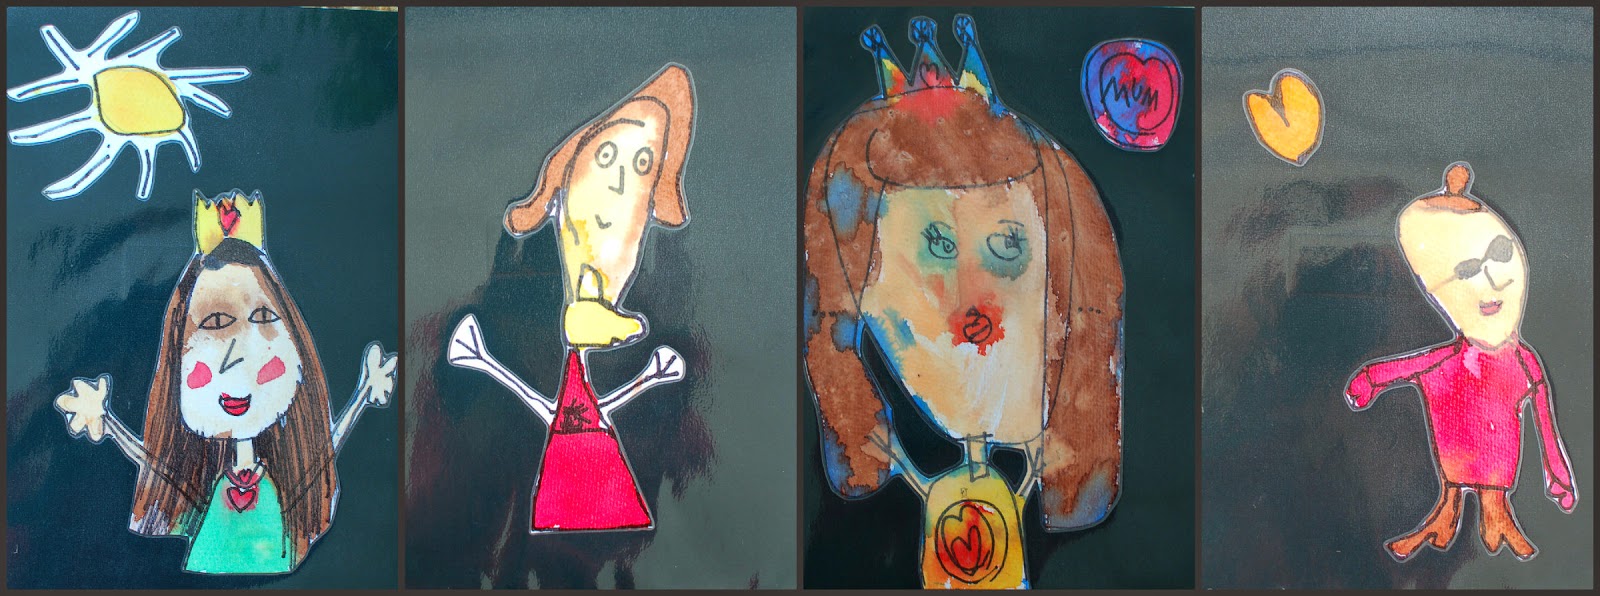
1. Portraits of Mum
2. Art Tea Towels
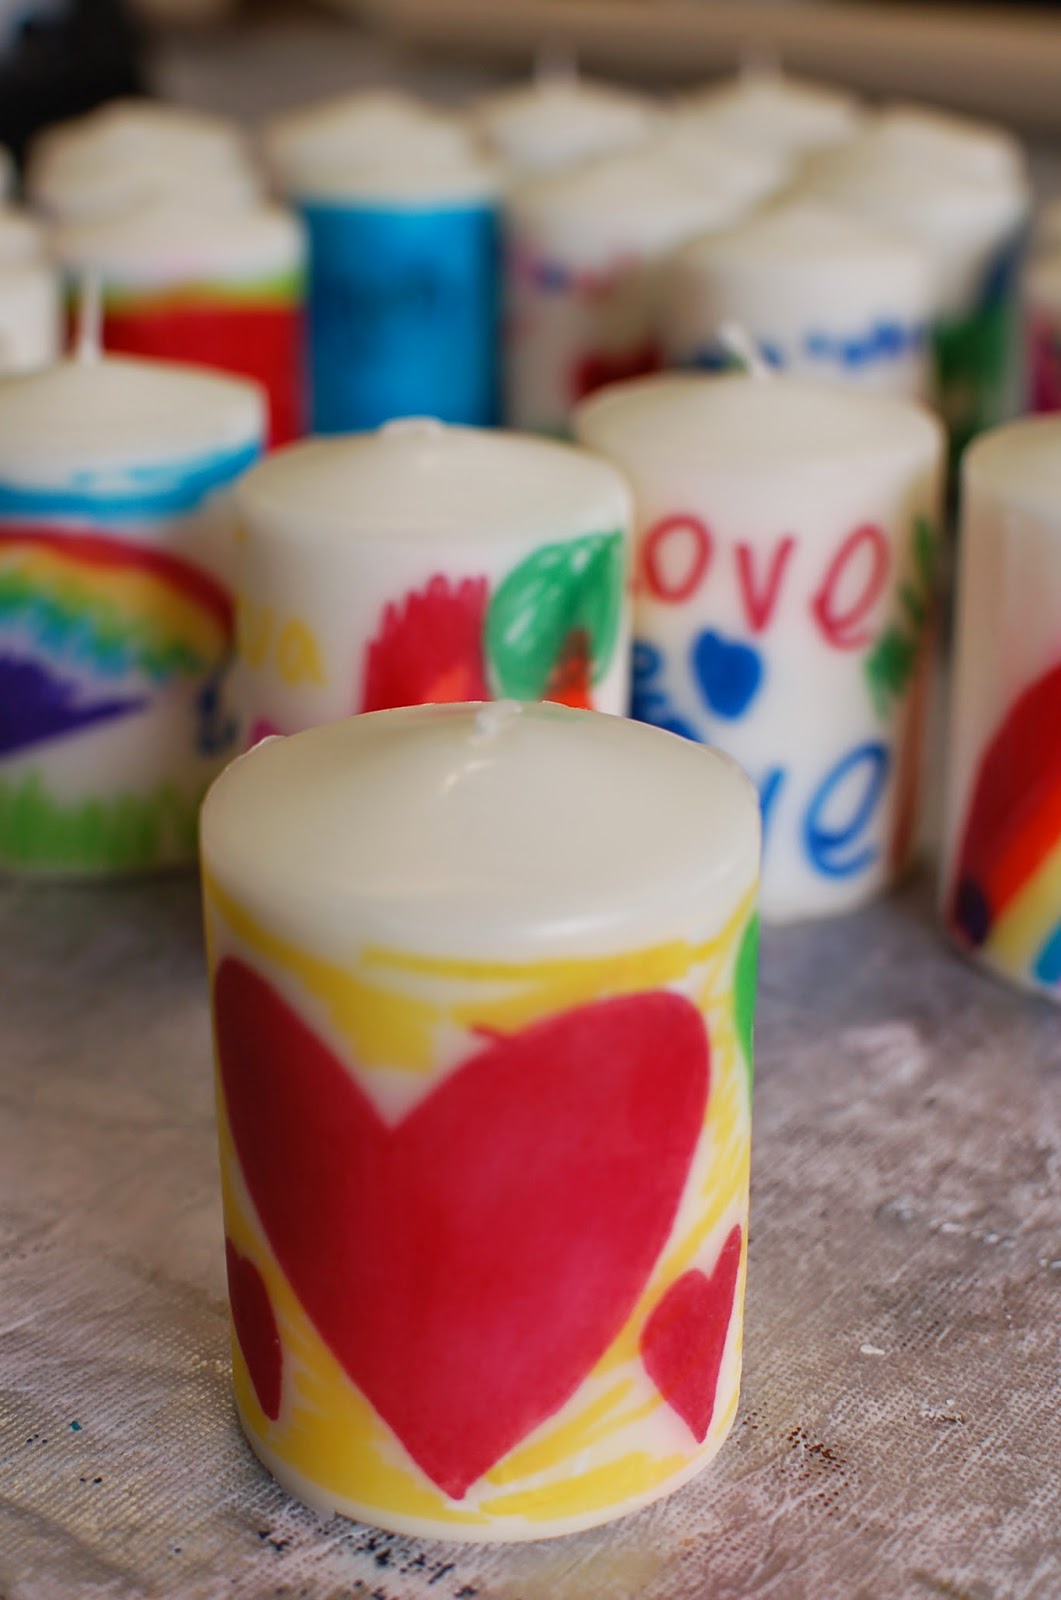
3. Art Work Candles
I just love how they all turned out. We even took some time the following week wrapping them and decorating the brown paper. Lovely. I'm certainly happy with my gifts from this (although they may not have been a surprise for me).
1. Portraits of Mum
(I got this idea from a portrait my daughter did in Prep for Fathers Day 2011 - thanks Mrs Y!)
What you need:
- Watercolour Paints
- Watercolour Paper
- Paintbrushes
- Pencils and erasers
- Black sharpies
- Laminating sheets, laminator and black paper (optional)
- Demonstrate how to do a portrait (I did this on the whiteboard and had a handout for them)
- We did a practice first on normal paper, then we drew our face on watercolour paper in pencil.
- Go over pencil with black marker and rub out pencil lines.
- Paint with watercolours. (To stop some of the bleeding that happens with watercolours I got the children to paint the flesh coloured areas first and then I dried it for them with a heat gun).
- Once the portraits were dry I cut them out, put them on black paper and laminated them.
- I also put a message on the back saying "Happy Mothers Day 2014"
Done by children 5 years old to 9 years old. See if you can recognize some of the Mum's....
Here's some of me (love them!!).....
Here's some of the same Mum by three sisters...
What beautiful eyes you have (love these!!).....
Love Hearts Mum's.......
Rainbow clothes Mum (by sisters)....
These ones have a great resemblance...
And even more beautiful Mum's......
What a good looking group of Mum's!!
2. Art Tea Towels
What you need:
- Tea towels (I used ones from IKEA)
- Fabric Markers (I used ones from IKEA)
- Iron
- Get the children to draw on their tea towels with the fabric markers.
- Leave to dry for 24hrs.
- Iron
3. Art Work Candles
This idea came from the "Come Together Kids" blog. Laura has written some great instructions so I won't repeat them here. Thanks Laura!
The Results:
Sometimes things like this are too lovely to use...
WISHING YOU ALL A WONDERFUL MOTHER'S DAY. HOPE YOU GET TO RELAX AND ENJOY YOUR WONDERFUL CHILDREN!
ENJOY YOUR PRESSIES - YOU DESERVE THEM..
Cheers
Fiona
Subscribe to:
Comments (Atom)


