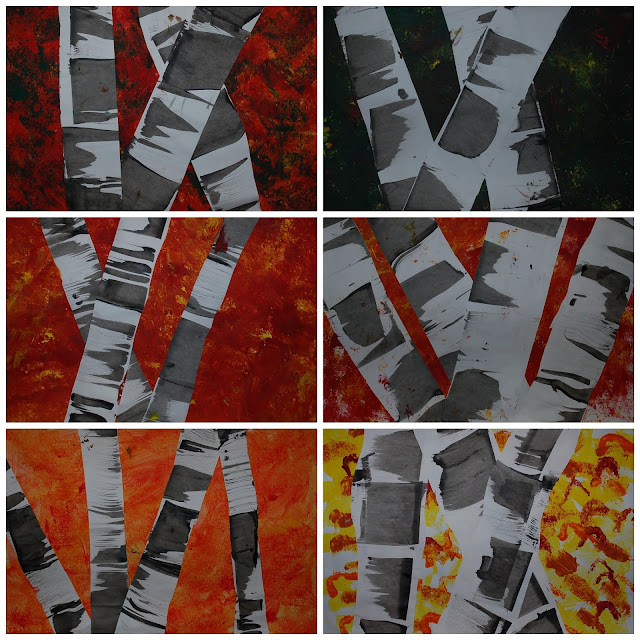
I've seen lots of different versions of this lesson on Pinterest over the years. I even tried it out myself about two years ago yet it seems to have taken ages to make it into one of my lessons.
I planned to do this as an autumn lesson, yet the 3 weeks of clay went on and on and before I knew it winter was upon us. Some children were happy to keep with the autumn theme, yet some insisted that it is now winter and used cool colours instead. It's nice to have strong minded children in the class I guess (one of them was my own of course!).
Still love how these turned out. A nice easy yet effective lesson.
What you need:
- Paint (cool or warm colours)
- Sponges
- White paper x 2
- Credit cards
- Watered down black paint or black ink
- Scissors and glue
Backgrounds
- Sponge the paints all over the white piece of paper
- Leave to dry
- Use a credit card dipped in ink to make trees by scraping it across the paper in lines
- Do this in portrait orientation so that the trees are long
- Leave to dry
- Cut out birch trees. Glue to background (in landscape mode). Cut off extra tree hanging off the edges. Hopefully this avoids floating trees when the bottom doesn't line up.
Cheers
Fiona


No comments:
Post a Comment