Last week we did raised salt paintings. This is a great process art activity, yet the final product didn't work out as well as I would have liked. It is best to take a photo of the final picture and remember it that way as the colours do fade and the salt can crumble off once dry. Probably not such a good activity if parents expect to see a piece of artwork to take home. That said the children really enjoyed the process and its a great activity to show colour theory.
What you need:
- White or Black paper (watercolour or thicker paper would probably work better yet I just used normal cartridge paper)
- Table Salt
- Liquid Watercolours
- Paint brushes
- White Glue
- Ask the children to draw pictures on their paper with the glue.
- Sprinkle a generous amount of salt over your picture ensuring you cover all the glue
- Tip salt off picture into a large container
- Ask the children to touch the liquid watercolours to the salt with the tip of a paintbrush and then watch the colour spread along the lines
- Remind the children not to brush the picture, they just need to touch the paintbrush to the salt.
- This is a great chance for them to practice colour blending, ask them what happens when a blue line meets a yellow line etc.
These looked lovely when they were first done. Yet the colours did fade when dry and the salt flaked off in some spots. I tried spraying with a clear varnish in the hope it would hold the salt on yet it didn't have a huge impact. Below is just a small sample of what the children did as I ran out of time to photograph them all. There were some lovely pictures of hearts, flowers and butterflies.
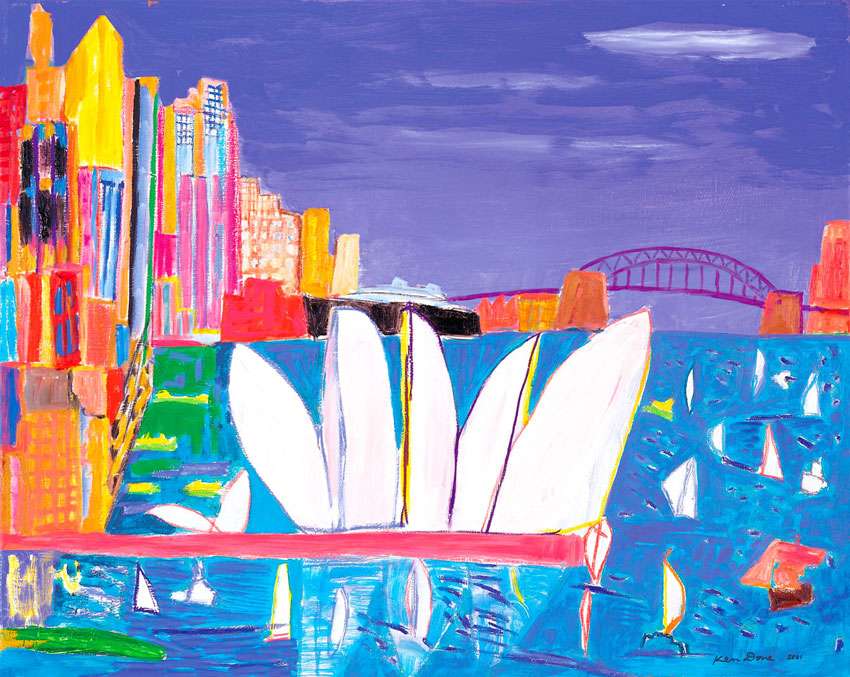
Our artist of the week was Ken Done. He is a well known Australian artist who is best known for his colourful paintings of the Sydney harbour. One of my students if very keen on Ken Done's work so this artist of the week is for her...

Cheers
Fiona


No comments:
Post a Comment